
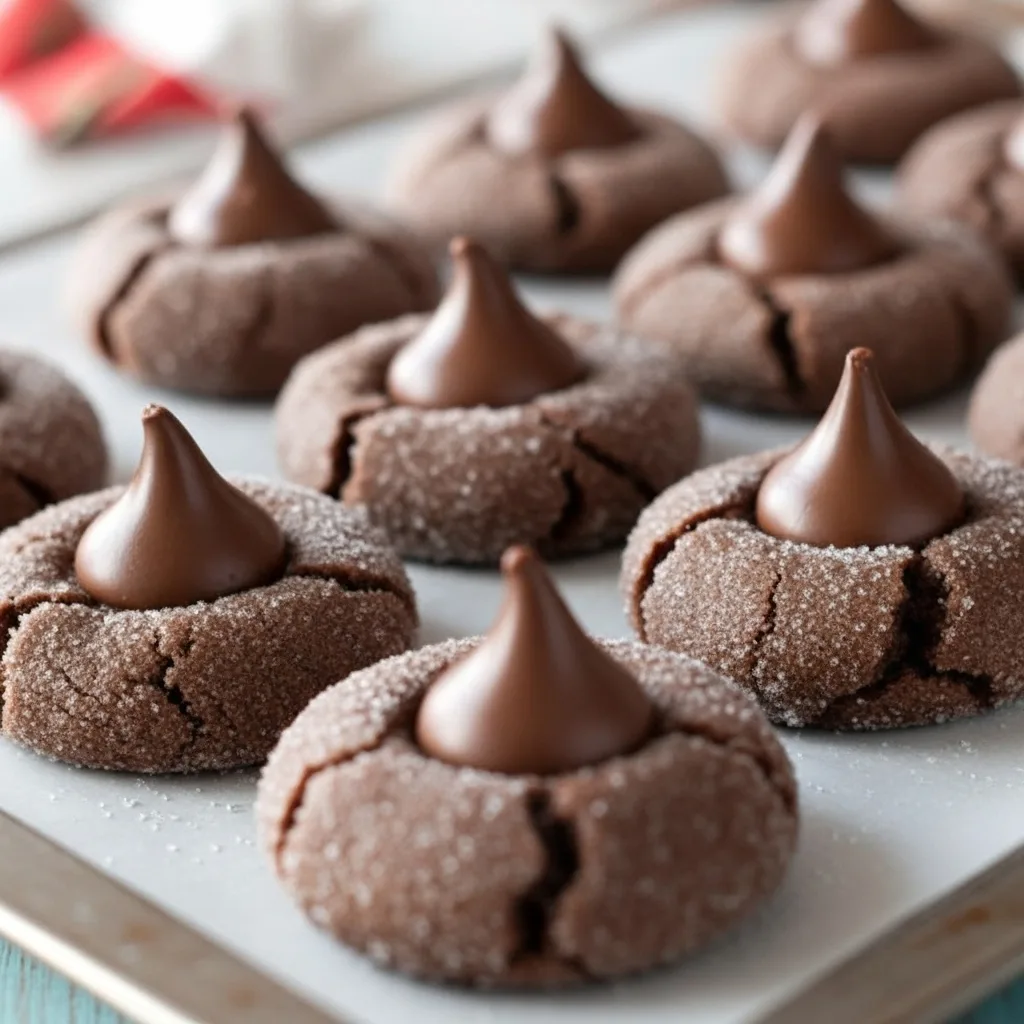
Chocolate Kiss Cookies always take me back to cozy kitchens, flour on the counter, and sneaking a warm one before it cools. These classic holiday cookies have a crinkled chocolate exterior, a snowy powdered sugar coating, and a Hershey’s Kiss right on top. I’ve baked them countless times, and that rich chocolate flavor with the soft, fudgy center never disappoints. If you love baking something simple but special for the people you care about, this recipe is one you’ll want to keep close.
Why You’ll Fall in Love with These Chocolate Kiss Cookies
- Rich chocolate flavor from cocoa powder that really comes through in every bite
- Soft, fudgy centers with lightly crisp, crinkled edges that look bakery-perfect
- Classic holiday look that feels special for cookie trays, gifting, or parties
- Simple pantry ingredients, so there’s nothing fancy or hard to find
- Make-ahead friendly dough that can chill overnight, making baking feel relaxed instead of rushed
Daisy’s Secret to Perfectly Crinkled Chocolate Kiss Cookies
The real secret is patience. The dough starts very wet, and that’s exactly how it should be, but chilling it for at least four hours changes everything. Rolling the dough generously in powdered sugar gives you those bold cracks once they bake. And always add the Hershey’s Kiss right after baking, while the cookies are hot, so it melts in just enough and stays perfectly centered.
What You’ll Need
- Butter & sugars – These build the base of the cookies, giving them richness, sweetness, and that soft, tender bite we all love.
- Eggs & vanilla – Eggs hold everything together, while vanilla adds warmth and depth to the chocolate flavor.
- Dry ingredients (flour, cocoa powder, baking powder, salt) – This mix creates structure, deep chocolate taste, and the signature crinkled texture.
- Coating & topping (powdered sugar, Hershey’s Kisses) – The powdered sugar gives that snowy crackle, and the Kiss adds the classic finish that makes these cookies special.
Options for Substitutions
- Unsalted butter + salt – If you only have unsalted butter, add a small pinch of salt to keep the flavor balanced. I’ve done this many times, and it works just fine.
- Dark cocoa vs natural cocoa powder – Dark cocoa gives a deeper, bolder chocolate taste, while natural cocoa keeps the cookies lighter and more classic. Both work, but the flavor will change slightly.
- Different chocolate toppings – Milk chocolate Hershey’s Kisses are traditional, but dark or seasonal Kisses add a fun twist. If Kisses aren’t available, any small chocolate button or chunk that holds its shape will work.
- Make-ahead dough option – You can chill the dough overnight, which is perfect when baking feels busy or rushed.
Keep in mind that substitutions may slightly change the flavor or texture, but the cookies will still turn out
Step-by-Step Guide to Baking Chocolate Kiss Cookies
Step 1: Cream the Butter and Sugars
Start by mixing the butter with both sugars until the mixture looks light and fluffy. This step adds air, which helps the cookies stay soft instead of dense. I always take a moment here because it sets the tone for the whole batch.
Step 2: Add Eggs and Vanilla
Mix in the eggs and vanilla until everything looks smooth and creamy. The dough should look glossy and well blended. This is when the batter starts to smell like real cookies.
Step 3: Mix the Dry Ingredients
In a separate bowl, whisk together the flour, cocoa powder, baking powder, and salt. This helps spread everything evenly so you don’t get dry spots later. It’s a small step that makes a big difference.
Step 4: Combine Wet and Dry
Add the dry mix to the wet ingredients a little at a time. The dough will look sticky, and that’s normal. Don’t worry—it firms up once chilled.
Step 5: Chill the Dough
Wrap the dough tightly and place it in the fridge for at least four hours. This makes the dough easy to handle and helps the cookies hold their shape. I usually do this step ahead to keep baking stress-free.
Step 6: Shape and Coat
Scoop the dough, roll it into balls, and coat each one heavily in powdered sugar. Be generous here because this is what creates those beautiful cracks. It’s messy but fun.
Step 7: Bake and Add the Kisses
Bake the cookies until the edges are set but the centers stay soft. While they’re still hot, gently press a Hershey’s Kiss on top. Let them cool, and try not to sneak too many right away.
How Long to Cook the Chocolate Kiss Cookies
Bake these cookies at 350°F (177°C) for about 10 to 12 minutes. You’re looking for edges that are set, with centers that still feel soft when lightly touched. I always remind myself that they finish setting as they cool, so don’t wait for them to look fully firm. Let the cookies cool on the baking sheet for a few minutes before moving them, or they may break apart.
Expert Tips & Troubleshooting
If the dough feels too sticky, it usually just needs more time in the fridge. When powdered sugar melts away, it means the coating wasn’t thick enough, so don’t be shy when rolling. Cookies that spread too much are a sign the dough wasn’t cold enough going into the oven. And if you don’t see cracks, your oven may be running cool, which happens more often than we think.
Estimated Nutrition
Each Chocolate Kiss Cookie has about 160–180 calories, with most of that coming from sugar, butter, and cocoa. They also contain moderate fat and carbs, which is pretty typical for a classic holiday cookie.
These values are estimates only and can change based on cookie size, ingredients used, and specific brands. For exact nutrition, it’s always best to calculate using your own ingredients.
Storage & Reheating Instructions
Once the cookies are cool, store them at room temperature in an airtight container for up to 4 days. I usually keep them on the counter, where they’re easy to grab and stay soft. If your kitchen runs warm, you can refrigerate them, but let them come back to room temp before serving.
To freeze, place baked cookies or unbaked dough balls in a freezer-safe bag for up to 2 months. When you’re ready to enjoy them, let baked cookies thaw naturally, or warm them for a few seconds to soften the centers. That little bit of warmth brings the chocolate back to life.
FAQs for Chocolate Kiss Cookies
Can I make the dough ahead of time?
Yes, Chocolate Kiss Cookies dough can be made ahead and chilled overnight. This actually helps the dough firm up and makes shaping the cookies easier the next day.
Do I have to chill the dough?
Yes, chilling is important for Chocolate Kiss Cookies. The dough starts very soft, and chilling helps it hold shape and creates those classic crinkles.
Can I use different chocolate kisses?
Absolutely. You can use milk, dark, or seasonal Hershey’s Kisses. Different flavors change the taste slightly but won’t affect how the cookies bake.
Why add the kiss after baking?
The kiss is added after baking so it keeps its shape. If added before, it would melt too much and lose that classic look.
Can I freeze these cookies?
Yes, Chocolate Kiss Cookies freeze well. You can freeze baked cookies or unbaked dough balls and thaw them when ready to enjoy.
Conclusion
Chocolate Kiss Cookies are a classic for a reason. They’re rich, soft, and full of chocolate, with that crinkled sugar coating and sweet kiss on top that everyone recognizes. These cookies are perfect for holidays, gift boxes, or quiet nights at home with family.
If you try this recipe, make it your own and have fun with it. I’d love to hear how yours turn out or what little twist you add next time. Come back anytime—there’s always another cozy bake waiting for us.
If you like this recipe, be sure to check out these other delicious cookie favorites:
Chocolate Kiss Cookies
Ingredients
Equipment
Method
- In a large bowl, cream the softened butter, granulated sugar, and brown sugar until light and fluffy.
- Add the eggs and vanilla extract, mixing until smooth and creamy.
- In a separate bowl, whisk together the flour, cocoa powder, baking powder, and salt.
- Gradually add the dry ingredients to the wet mixture, mixing until a sticky dough forms.
- Wrap the dough tightly and refrigerate for at least 4 hours or overnight.
- Scoop the chilled dough into balls and roll each one generously in powdered sugar.
- Place dough balls on a parchment-lined baking sheet.
- Bake at 350°F (177°C) for 10–12 minutes, until edges are set and centers are soft.
- Remove from the oven and gently press a Hershey’s Kiss into the center of each cookie while hot.
- Let cookies cool on the baking sheet before removing.